|
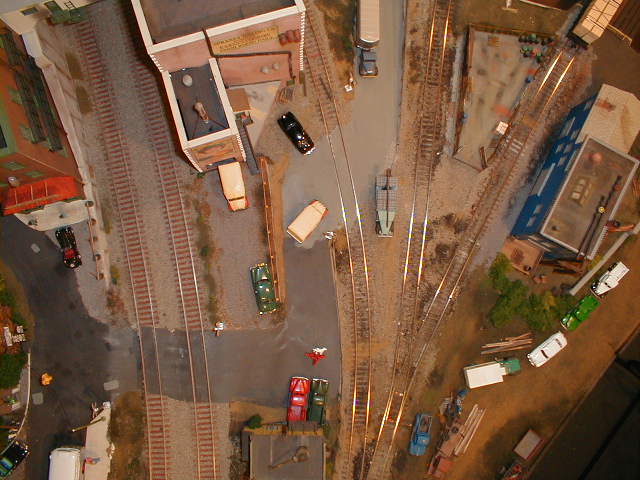
Overhead Imagery for the Hudson Point and Hawthorne Railroad |
|
|
|
A track plan is nice, but wouldn't it be better to see
what the track is REALLY like? I planned the HP&H with Cadrail but the "as built" road is a little different. Rather than take the time to update plans, I photographed the layout from a "satellite view." I then assembled the images into a "collage" using an image editing program. So, I've got an up-to-date picture of the layout plan that REALLY is a picture (and I can almost do a census of the HO scale people). I was planning to do a clinic on HORAILROAD.COM documenting the "spy satellite" process of overhead imaging for model railroads but its pretty far down on the list of things to do. So, don't wait for me. Have a go at it with these quick tips: 1. Use a self focusing digital camera with a timer. The camera is pressed flat against the ceiling so you can't focus manually and it's extremely awkward to trip the shutter. 2. Compensate for high and low spots in your layout. Presuming the camera is pressed against the ceiling, distance to the track is going to change the size ratio of your photos. Start at the high spot and work you way to the low spots using a spacer between camera and ceiling to maintain distance. 3. There could be some distortion near the edges of photos so make matching them up easier by allowing plenty of overlap. (Its digital so don't worry processing cost!) 4. Make a grid on the ceiling (or using existing drop ceiling grid) to align shots. Push Pins and thread make good markers. Keeping the photos relatively square with one another will make your life easier during assembly of the collage. A little care here and you can avoid rotating the photos with software. |
|
Return to Hudson Point Main Page
|
